Set-Up Instructions
We’ll start by installing Anaconda, a platform for managing data science environments and tools, it can be downloaded using the links at the bottom of this page (use the 64-bit versions).
We now need to create the environment in which we can do our spatial analysis. In programming an environment refers to the suite of software and tooling used, in this case the specific R packages required for us to carry out spatial analyses. Anaconda makes this easy for us to set-up as all of the information on how to create an environment is stored in the environment.yml file, which is located in the top directory of this repository. We’ll now walk through the commands that need to be run.
Windows
Firstly we need to open the command line, then we must move to the directory that contains all of the files. cd means change directory, which we must follow with the specific path to where you downloaded this directory.
cd path/to/this/directory
At this stage you can either run the command below (where path/to/anaconda3 is the absolute filepath for your anaconda directory) which will complete all of the remaining steps, or you can continue with the manual set-up.
setup.bat path/to/anaconda3
For the manual set-up we’ll now create the ESDA-Spatial programming environment using:
conda env create -f environment.yml
The .yml file will look similar to the code below. It outlines the name of the environment, where it should download packages from, and which packages it should retrieve.
name: ESDA-Spatial
channels:
    - r
    - conda-forge
dependencies:
    - name-of-package-1
    - name-of-package-2
    ...
Next we’ll activate the environment
conda activate ESDA-Spatial
When you run this command you should see that the command line prefix has changed from base to ESDA-spatial, this means that everything has worked and any further commands you type will be run using the environment you’ve just made.
e.g.
(base) C:\Users\Ayrton>conda activate ESDA-spatial
(ESDA-spatial) C:\Users\Ayrton>
We now need to add the environment to the kernel. “A ‘kernel’ is a program that runs and introspects the user’s code” - Jupyter.
R --slave -e 'IRkernel::installspec(display-name=ESDA-Spatial)'
Finally we can get Jupyter Lab running by using:
jupyter lab
A Jupyter Lab session should now open up automatically in your default browser, if not you can copy the address that it prints into the command line and paste that into a browser - e.g. http://localhost:8888/?token=6e63afag498b84292580b0332591c5775c824cc911913652.
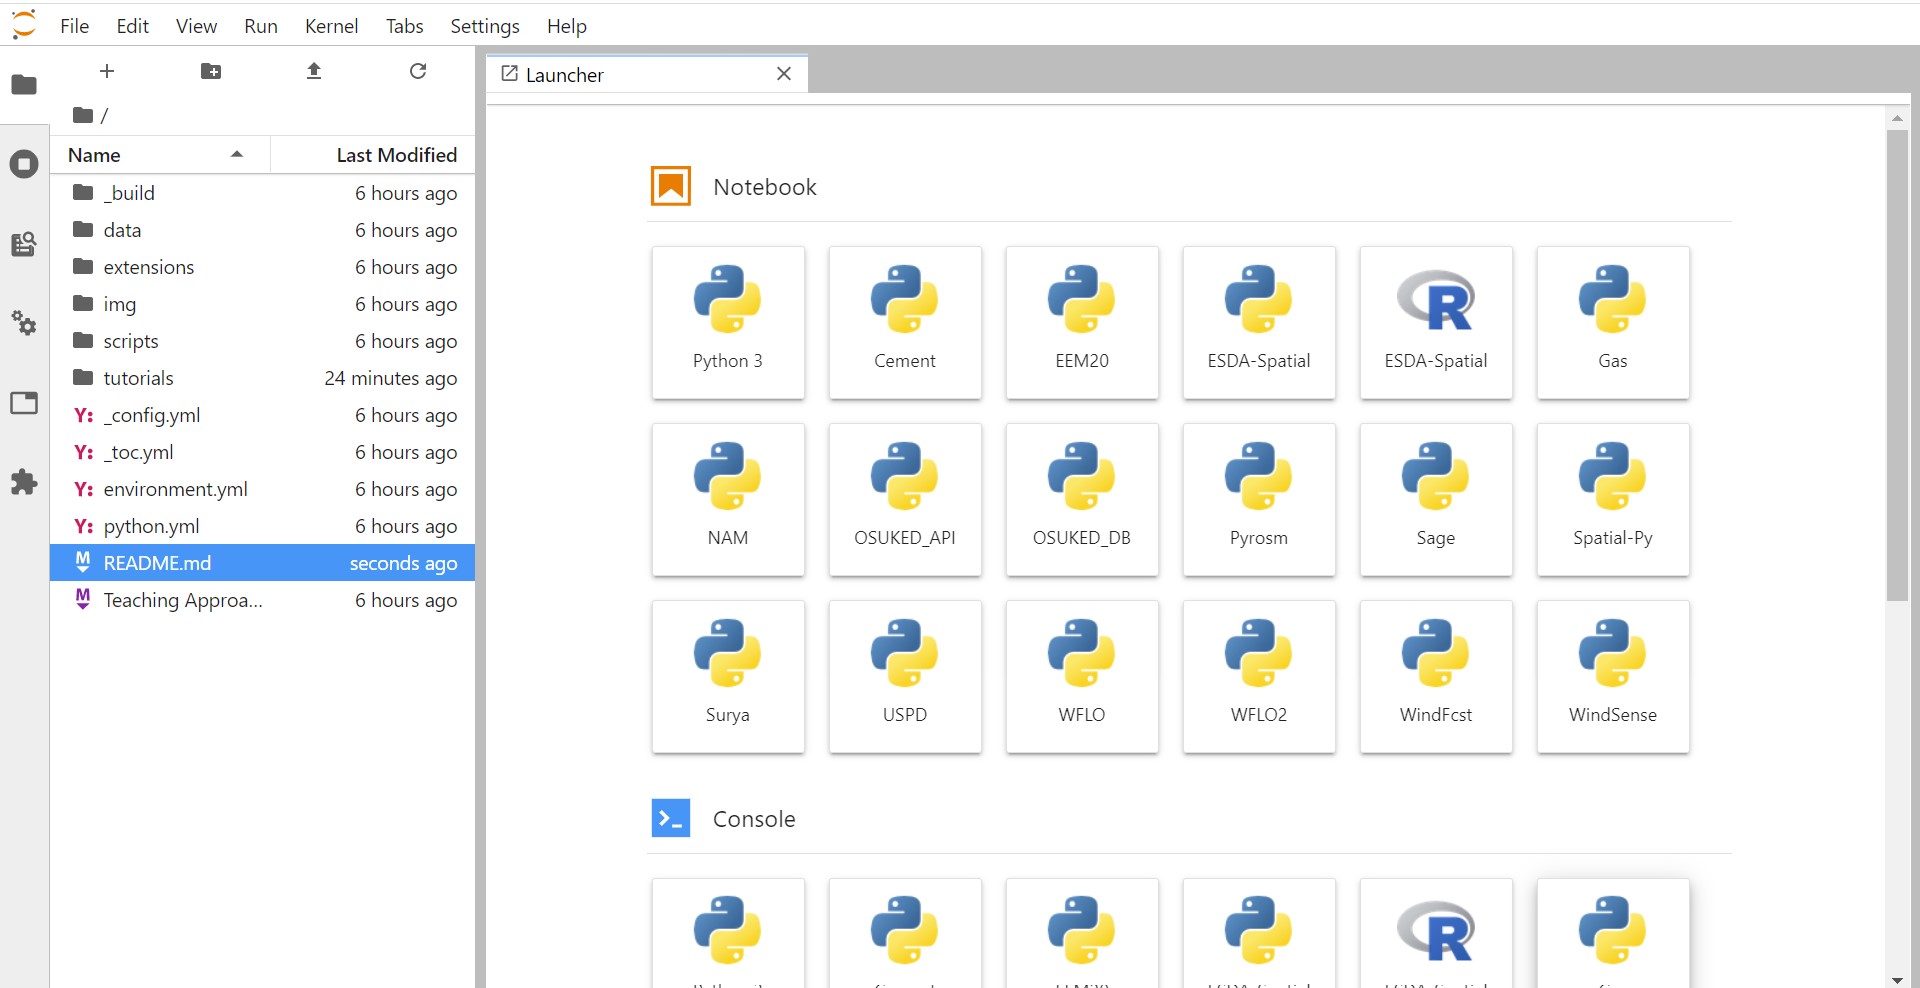
The browser should look similar to the display shown below.